Set Up and Use of WebEx Videoconferencing
WebEx is software that allows for face-to-face video conferencing. WebEx operates outside of Blackboard and is accessed through the WebEx website.
THIS TUTORIAL WILL GUIDE YOU ON HOW TO SET UP AND USE YOUR WEB EX ACCOUNT USING A COMPUTER.
IF YOU ARE USING A MOBILE DEVICE YOU WILL NEED TO ACCESS A COMPUTER IN ORDER TO SET UP YOUR ACCOUNT AND TO MANAGE YOUR RECORDINGS.
MOBILE APPLICATIONS
CLICK HERE FOR A TUTORIAL ON HOW TO USE YOUR WEB EX APP ON YOUR iPAD
SETTING UP YOUR WEBEX ACCOUNT
To set up your accountFirst you want to go to the WebEx website:

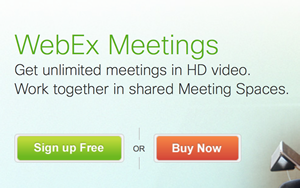
Click the "Sign up Free" button
The interface will walk you through the process of setting up a free account. The free version of WebEx allows you to set up meetings with up to three people in them. You can also record your meetings and store them on the WebEx server. You only have about 250MB of storage so you have to manage your files to make sure you always have room for recordings.
ACCESSING YOUR WEBEX ACCOUNT
Once you have a WebEx account you can set up meetings and send email invitations. You are the HOST of the meeting so you have special controls over what your meeting parters see and hear. You also have access to the RECORD button to record your sessions.
https://meetings.webex.com/collabs/auth
This link will take you to the sign in page to sign into your account.
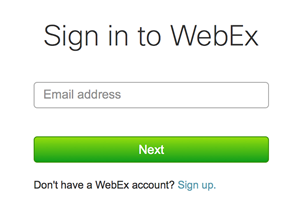
Submit your email address and password to access your account. Once you are in your account you will see this interface below where you manage your meetings.
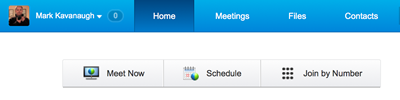
Home - this is your entry page and below this will list all the current and past meetings.
Meetings - this will bring you to a page to set up and manage upcoming meetings.
Files - this will enable you to upload files and documents that you would like to share in meetings.
Contacts - this is sort of the "address book" for WebEx...you would put frequently used contacts in here.
MANAGING WEBEX MEETINGS
In this section we are going to review how to set up a meeting and how to invite people to attend the meeting.
First, we select the "Meetings" tab in the menu...or simply select "Meet Now" (to set up a meeting to start right away) or "Schedule" (to set up a meeting at a specific time and date).
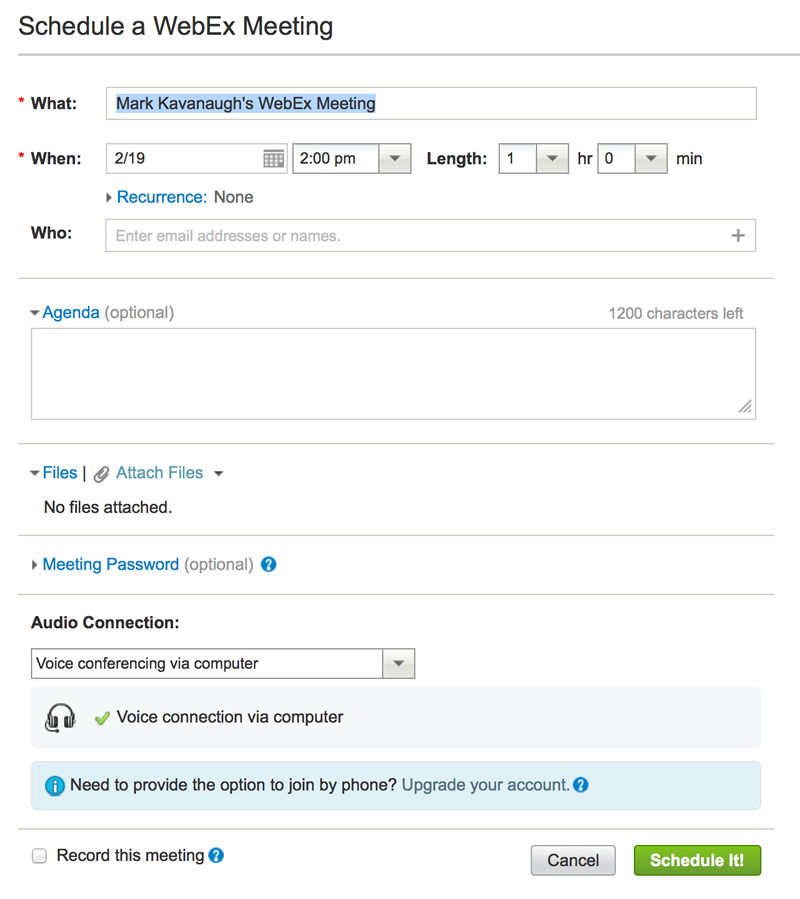
Selecting "Schedule" will reveal the following interface:
As you can see this enables you to name the meeting (What), set the time and day (When), and send invitations (Who)
You can also set an Agenda, attach files, create a meeting password, and set the meeting to record (if you do not select the record meeting option the host can simply click the "Record" button in the conferencing interface)
JOINING A MEETING
- Once you set up a meeting you and anyone (up to two other people) will get an email notification.
- The email invitation to attend the meeting will look something like this:
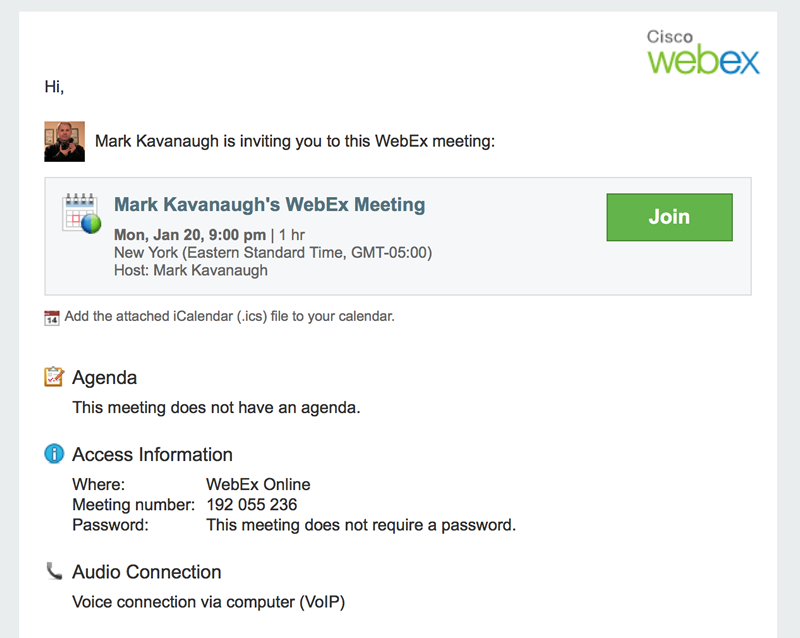
- When the time for the meeting is close, the user simply clicks on the Join button...WebEx will then load the meeting interface which looks like the image below:

When you have the video running there is an icon at the top right of the video image that looks like three people...clicking this icon will revert your interface to full screen so that all you see is the video feeds...very cool and it allows for more direct eye contact.
In the graphic above you can see where you need to press to connect your audio (VoIP)...when you first click this button it will enlarge and ask you to test your audio...click the button AGAIN to actually connect to the audio conference...it is a little tricky.
Tips for Video Conferencing
|
MANAGING YOUR RECORDINGS
Once you have completed recording a session, WebEx will create a link so that you can access your recording. It might take up to half an hour for the link to appear so be patient.
To chick on recorded sessions click the "Files" tab.
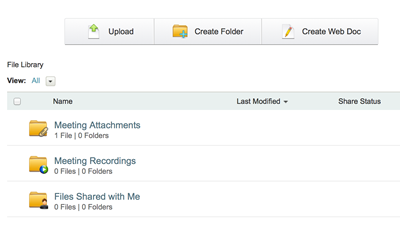
You will see a folder called "Meeting Recordings". Opening this folder will reveal links to your recordings. The interface also allows you to delete and download the recordings.
You can email links to your recordings to anyone...they will need the WebEx software to view them.